前回、Raspberry Pi 3B+にZabbixを入れましたが、モッサリ感が残ってしまいました。RasPi Desktopだったからなのか?を確認するために、今回はRasPi Liteで構築してみます。結論としてはLiteはDeskotopよりはマシといった印象です。
なお、今回も猫たちの出番はありません。
Raspberry Pi のセットアップ
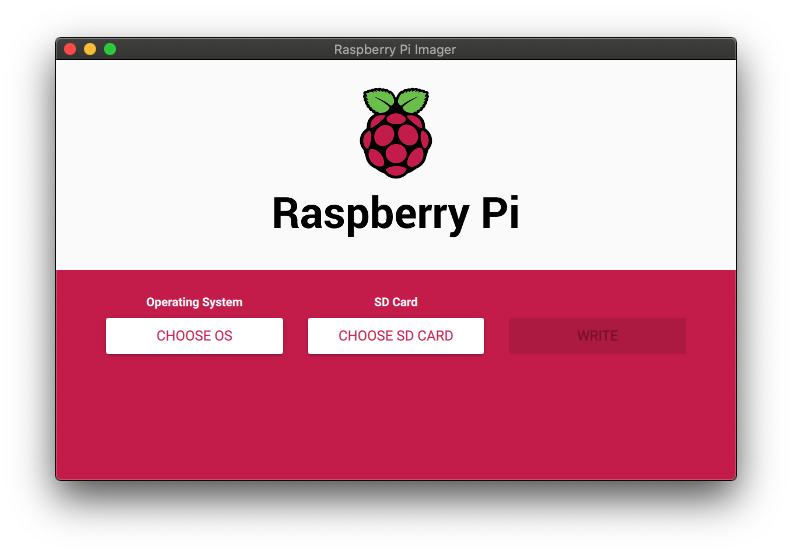
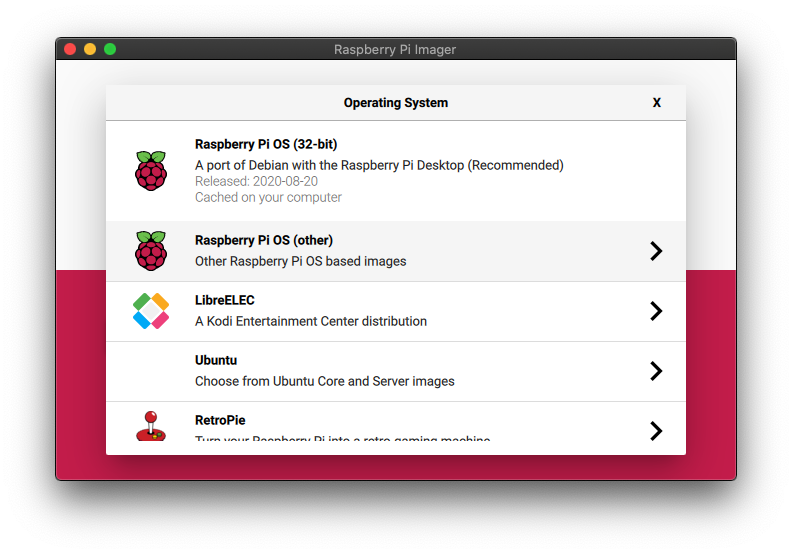
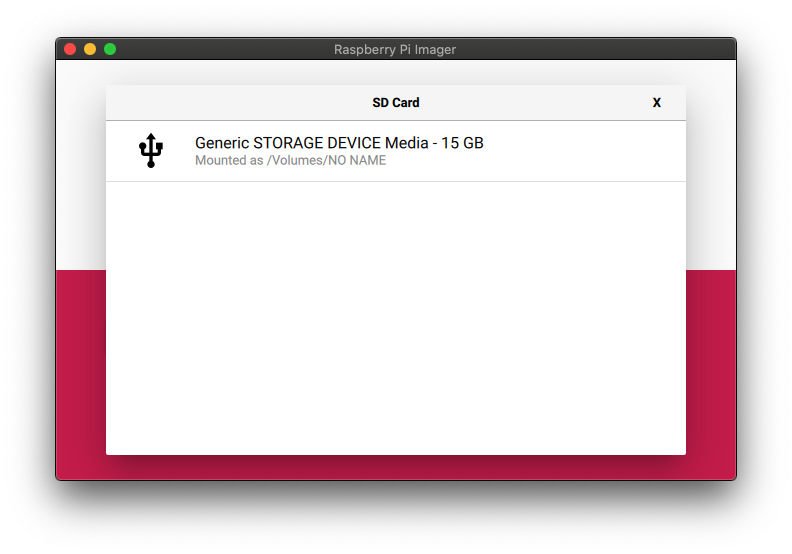
SDカードの作成
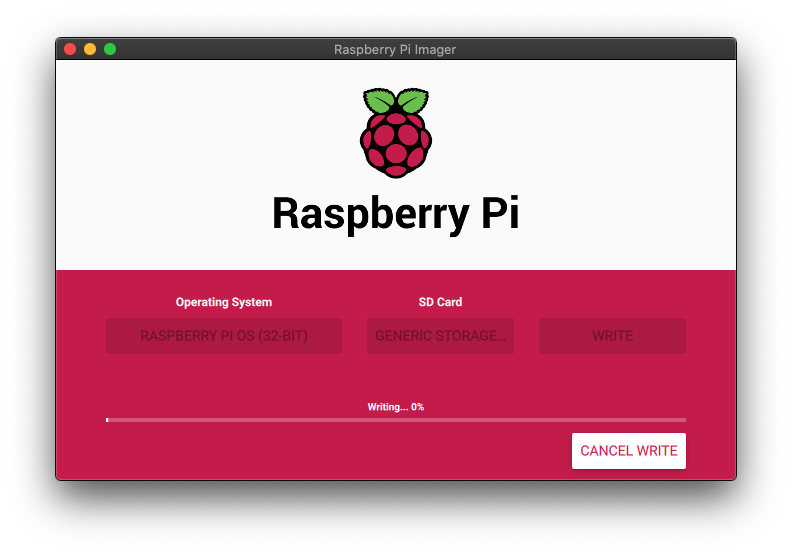
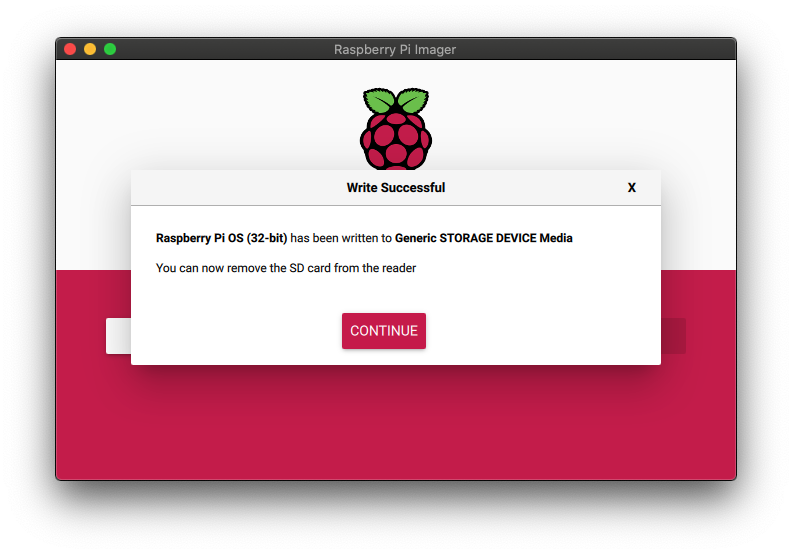
Raspberry Pi Imager を使って、OSイメージをSDカードに作成します。今回はLiteを選択しました。
OS起動
作成したSDカードをRasPiに入れて起動し、セットアップを行います。
まず、raspi-configを使いました。パスワードは使い回ししないように。強固なものを使いましょう。
sudo raspi-configパッケージをアップデート
sudo apt-get update
sudo apt-get upgrade
ufwのインストール。とりあえずポートはそのまま。適時変更してください。
sudo apt-get install ufw
sudo ufw disable
sudo ufw default deny
sudo ufw allow proto tcp from 192.168.xxx.0/24 to any port 22
sudo ufw allow proto tcp from 192.168.xxx.0/24 to any port 80
sudo ufw enable
vimのインストール。nanoな人は不要です。
sudo apt-get install vim自動セキュリティ更新
sudo apt install unattended-upgrades
sudo dpkg-reconfigure -plow unattended-upgrades
固定IPアドレスを割り振ります。
sudo vim /etc/dhcpcd.confinterface eth0
static ip_address=192.168.x.x
static routers=192.168.x.1
static domain_name_servers=192.168.x.1 8.8.8.8あと、出来ればpiユーザの名前も変更しておきましょう。
zabbixのセットアップ
zabbix関連のインストール
sudo wget https://repo.zabbix.com/zabbix/5.0/raspbian/pool/main/z/zabbix-release/zabbix-release_5.0-1+$(lsb_release -sc)_all.deb
sudo dpkg -i zabbix-release_5.0-1+$(lsb_release -sc)_all.deb
sudo apt update
sudo apt -y install zabbix-server-mysql zabbix-frontend-php zabbix-apache-conf zabbix-agent
mariadb(mysql)のインストール
sudo apt-get install mariadb-server
セットアップします。パスワードは使い回ししないように。別の強固なものを使いましょう。
$ sudo mysql_secure_installation

NOTE: RUNNING ALL PARTS OF THIS SCRIPT IS RECOMMENDED FOR ALL MariaDB
      SERVERS IN PRODUCTION USE!  PLEASE READ EACH STEP CAREFULLY!

In order to log into MariaDB to secure it, we'll need the current
password for the root user.  If you've just installed MariaDB, and
you haven't set the root password yet, the password will be blank,
so you should just press enter here.

Enter current password for root (enter for none):
OK, successfully used password, moving on...

Setting the root password ensures that nobody can log into the MariaDB
root user without the proper authorisation.

Set root password? [Y/n] y
New password:
Re-enter new password:
Password updated successfully!
Reloading privilege tables..
 ... Success!


By default, a MariaDB installation has an anonymous user, allowing anyone
to log into MariaDB without having to have a user account created for
them.  This is intended only for testing, and to make the installation
go a bit smoother.  You should remove them before moving into a
production environment.

Remove anonymous users? [Y/n] y
 ... Success!

Normally, root should only be allowed to connect from 'localhost'.  This
ensures that someone cannot guess at the root password from the network.

Disallow root login remotely? [Y/n] y
 ... Success!

By default, MariaDB comes with a database named 'test' that anyone can
access.  This is also intended only for testing, and should be removed
before moving into a production environment.

Remove test database and access to it? [Y/n] y
 - Dropping test database...
 ... Success!
 - Removing privileges on test database...
 ... Success!

Reloading the privilege tables will ensure that all changes made so far
will take effect immediately.

Reload privilege tables now? [Y/n] y
 ... Success!

Cleaning up...

All done!  If you've completed all of the above steps, your MariaDB
installation should now be secure.

Thanks for using MariaDB!
DBを作っておきます。パスワードは使い回ししないように。別の強固なものを使いましょう。
sudo mysql -u root -p '<上記で入れたパスワード>'
create database zabbix CHARACTER SET UTF8 collate utf8_bin;
grant all privileges on zabbix.* to zabbix@localhost identified by '<zabbixユーザのパスワード>';
上記で作成したDBにセットアップのSQLを流し込みます。zcatはgzのファイルを表示するコマンドです。
sudo zcat /usr/share/doc/zabbix-server-mysql*/create.sql.gz | mysql -uzabbix -p'<zabbixユーザのパスワード>' zabbixコマンド実行後は割と時間が掛かるので、return連打とかしないように気長に待ちましょう。30分くらいは放置で構いません。
完了後、設定ファイルにDBのパスワードを設定します。
sudo vim /etc/zabbix/zabbix_server.conf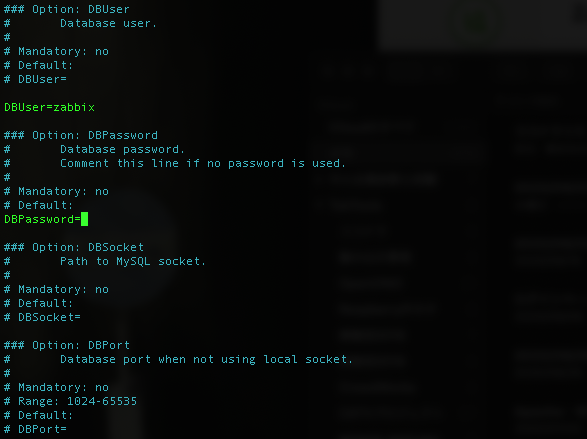
フォントのインストール
管理画面で文字化けを防ぐために、フォントを設定します。
sudo apt install fonts-noto-cjk
cd /etc/alternatives/
sudo ln -sf /usr/share/fonts/opentype/noto/NotoSansCJK-Regular.ttc zabbix-frontend-font
zabbix起動
sudo systemctl restart zabbix-server zabbix-agent
sudo systemctl enable zabbix-server zabbix-agent
Apacheのセットアップ
Apacheのインストール
sudo apt install apache2
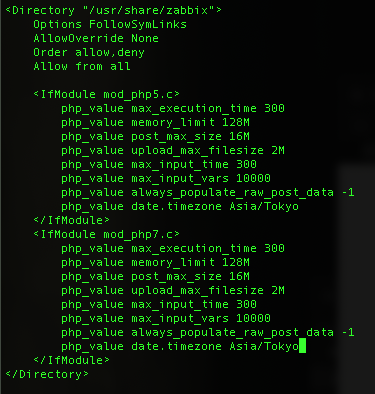
sudo nano /etc/zabbix/apache.conftimezoneをAsia/Tokyoに変更します。
Apache起動
sudo systemctl restart apache2
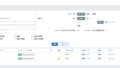
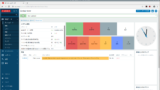
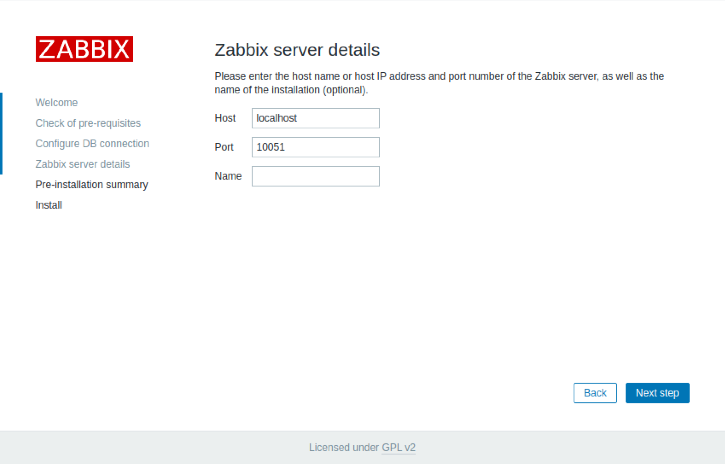
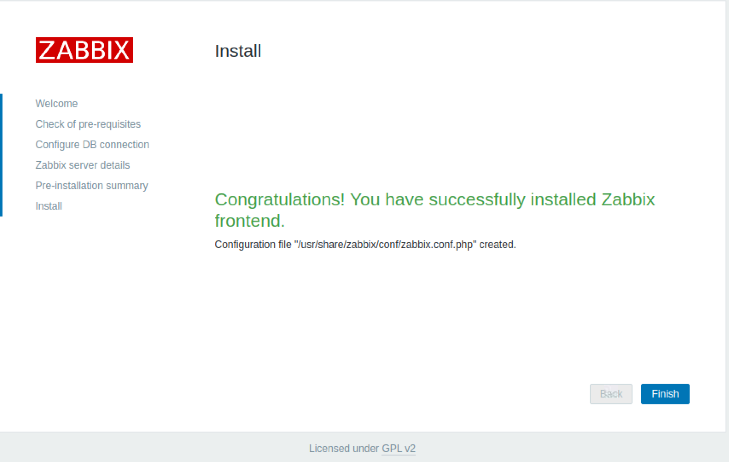
sudo systemctl enable apache2Zabbixのウィザード、日本語化
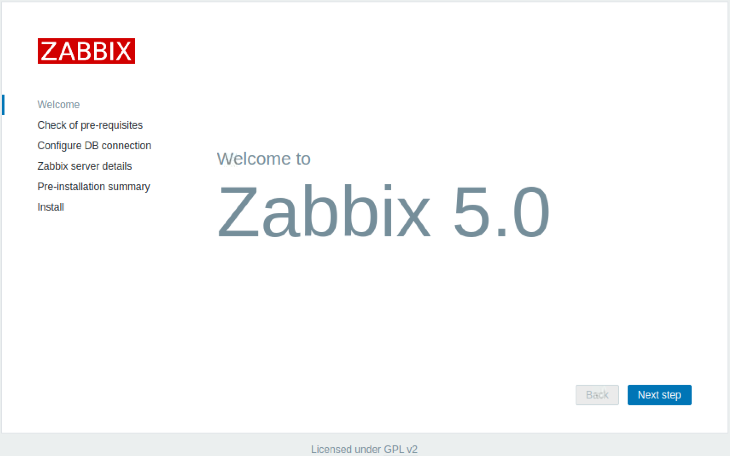
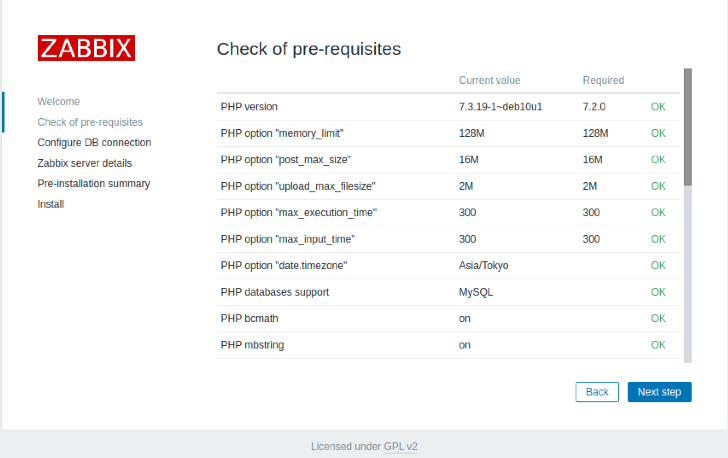
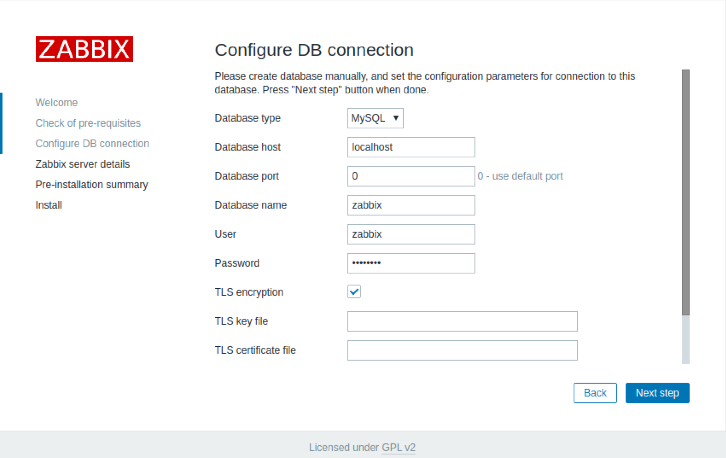
http://ipアドレス/zabbix を開くと、ウィザードが始まります。
以下、画像は前回のものです。
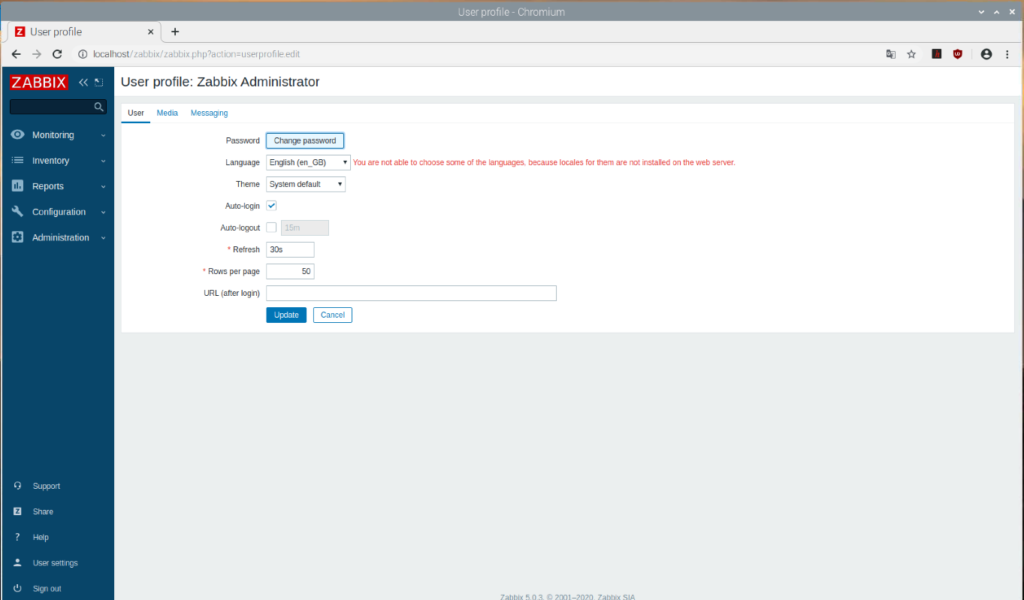
ユーザプロファイル設定から、日本語に変更できます。
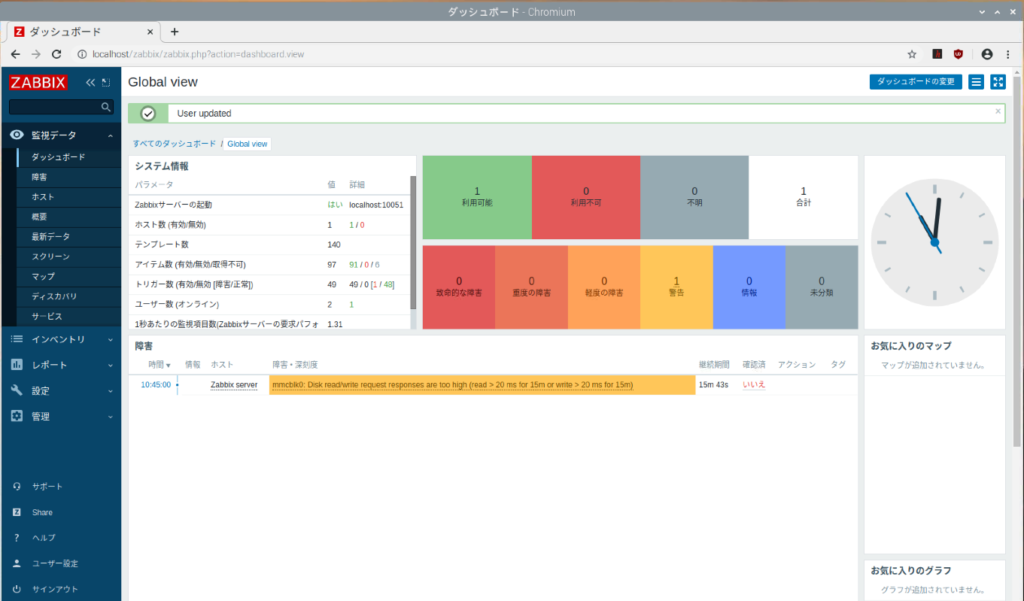
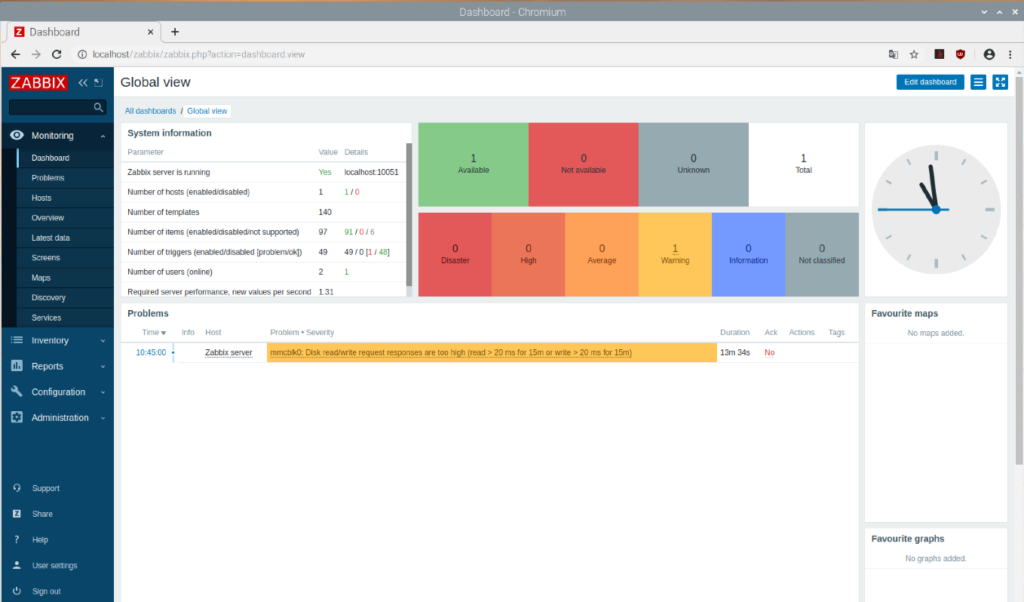
これでZabbixサーバが使えるようになりました。LiteはDeskotopよりはマシといった印象ですが、RasPi3B+には荷が重いかもしれません。
RasPi 4Bでも操作感を試してみたいと思います。エージェントについては別記事にしたいと思います。
良かったら他の記事も読んで頂けると嬉しいです。よろしくお願いします。